
The Complete Interior Design Process Explained: Your Guide to Interior Design Stages
- Agi

- Nov 26, 2025
- 6 min read
So, you’re thinking about giving your home a fresh new look? Or maybe you’re starting from scratch with a blank canvas? Either way, understanding the interior design stages can make the whole journey a lot less daunting – and a lot more fun! You might be wondering, “Where do I even start?” or “How do I make sure it all comes together?” Well, you’re in the right place. Let’s walk through the entire process together, step by step.
What Are the stages of the Interior Design Process?
Before you dive in, it’s helpful to know what the main stages of interior design actually are. Think of it like baking a cake. You wouldn’t just throw everything in the oven without a recipe, right? The same goes for designing your space. Here’s a quick overview of the key stages:
Initial Consultation and Briefing
Interior Space Planning
Concept Development
Design Development
Documentation and Planning
Implementation and Installation
Final Styling and Handover
Each stage builds on the last, making sure your space turns out just as you imagined – or even better!
If you are planning a large scale renovation, you need to get to Stage 5 before you can responsibly start works on site. Yes, almost to the end. A lot people only start looking for interior designer when the construction works of the home are complete or near complete, but that is a big mistake! You need to include your interior designer as soon as your architect (if you need one), and certainly before your contractor.
There will be massive opportunities lost, if you don't.
Stage 1: Initial Consultation and Briefing
This is where it all begins. You’ll meet with your designer to chat about what you want. What’s your style? What’s your budget? What’s the purpose of the space? Don’t worry if you’re not sure about everything yet – this is the time to explore ideas and get inspired.
Your interior designer will come prepared to the consultation with a long questionnaire, they know what questions to ask, you don't need to worry about it.
Also, there are no right and wrong answer. Be honest - with yourself first! -, be open minded, be adventurous. When you hire an interior designer, you no longer need to go with the safe choices, your designer will be there to put together a scheme based on your wildest ideas! This is your time to get all your unique personality out in the open!
Ask yourself questions like:
Do I want a cosy, traditional feel or something sleek and modern or even glamorous? Do you enjoy quite a luxury or more of a lived-in vibe?
How do I use this space daily?
What colours make me happy?
Are there any must-haves or deal breakers?
How else lives in the home and what do they want?
Do you host often or you don't even spend much time at home either?
What do you love and hate about your home as it is now?
Your designer will take notes, measure the space, and snap some photos. This stage is all about gathering information and setting the foundation.
This is when we discover challenges and opportunities.

Stage 2: Interior Space Planning - do not miss this step
Now, the magic starts. Your designer will take all that info and start putting together a concept. This usually means mood boards, colour palettes, fabric samples, and rough sketches. It’s like creating a visual story of what your space could become.
You’ll get to see different options and give feedback. Don’t be shy! This is your chance to say what you love and what you don’t. Maybe you adore the idea of a bold feature wall but want to tone down the furniture colours. It’s all about finding the right balance.
At this point, you’ll also start thinking about the layout. How will the furniture fit? Is there enough room to move around? This is where interior space planning really shines – clever space planning can transform even the trickiest rooms.
Stage 3: Concept Development – The Fun Part!
Now, the magic starts. Your designer will take all that info and start putting together a concept. This usually means mood boards, colour palettes, fabric samples, and rough sketches. It’s like creating a visual story of what your space could become.
You’ll get to see different options and give feedback. Don’t be shy! This is your chance to say what you love and what you don’t. Maybe you adore the idea of a bold feature wall but want to tone down the furniture colours. It’s all about finding the right balance.
The concept design stage is where we figure out WHAT to do, so this is the time to explore all ideas.
Stage 4: Design Development – Getting Into the Details
Once you’ve nailed the concept, it’s time to get down to the nitty-gritty, or the HOW to do.
This stage involves detailed drawings, choosing specific furniture pieces, lighting, accessories, and materials. Your designer will create floor plans, elevations, 3D visuals to help you see exactly how everything fits together.
At this stage, a lot of technical drawings will be created that will be essential for the contractor to work with, so - as I said at the beginning - you really need to work with your interior designer from early on in your renovation process.
A lighting scheme requires the exact position of furniture, feature walls, artwork to be specified first, whereas the first fix of the electrical works come quite early on in the renovation process. You see, you need to know pretty much everything about your final home to be able to actually start creating it.
Here’s where budgets get a bit more precise, too. You’ll review costs and timelines, making sure everything is realistic and manageable. It’s also the time to sort out any technical stuff like electrical points, plumbing, or structural changes.
Remember, this stage is all about refining. You might swap out a sofa for a comfier one or pick a different shade of paint. It’s your space, so make sure it feels right.

Stage 5: Documentation and Planning
This might sound a bit dull, but it’s crucial. Your designer will prepare all the paperwork needed to bring your design to life. This includes specifications, schedules, and sometimes planning permissions if you’re making big changes.
Think of it as the blueprint for your project. It ensures everyone involved – builders, electricians, suppliers – knows exactly what to do and when. Good documentation helps avoid costly mistakes and delays.
If you’re managing the project yourself, this is the time to get organised. Make a checklist, confirm delivery dates, and keep communication lines open with everyone involved.
Stage 6: Implementation and Installation
Here’s where the rubber meets the road! The work begins – walls get painted, furniture arrives, lighting is installed, and accessories find their place. It can be a bit chaotic, but don’t panic. Trust the process and keep checking in with your designer or contractor.
It’s a good idea to visit the site regularly to see progress and address any questions. Sometimes things don’t go exactly as planned – maybe a piece of furniture is delayed or a colour looks different in natural light. Flexibility is key.
Pro tip: Keep a folder or digital file with all your receipts, warranties, and contact details. You’ll thank yourself later.
Stage 7: Final Styling and Handover
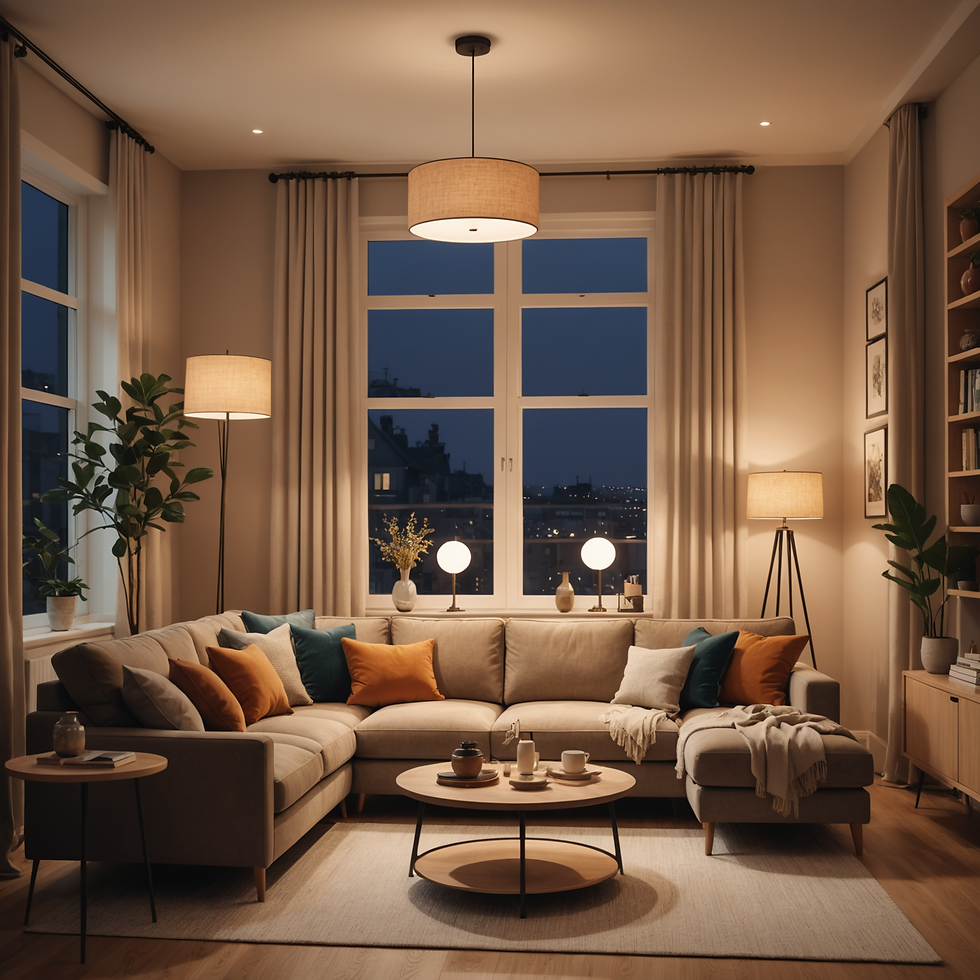
Almost there! Once everything is in place, it’s time for the finishing touches. This is where your space really comes alive – cushions get fluffed, artwork is hung, and plants add that lovely splash of green.
Your designer might bring in a few extra accessories to tie the room together. It’s all about making your space feel welcoming and truly yours.
When you step back and look around, you’ll see how all those interior design stages have come together to create something special. And guess what? You did it!
Feeling inspired to start your own project? Remember, the interior design process is your roadmap to a beautiful, functional home. Take it one step at a time, enjoy the journey, and don’t be afraid to ask for help when you need it.
Happy designing!


Comments